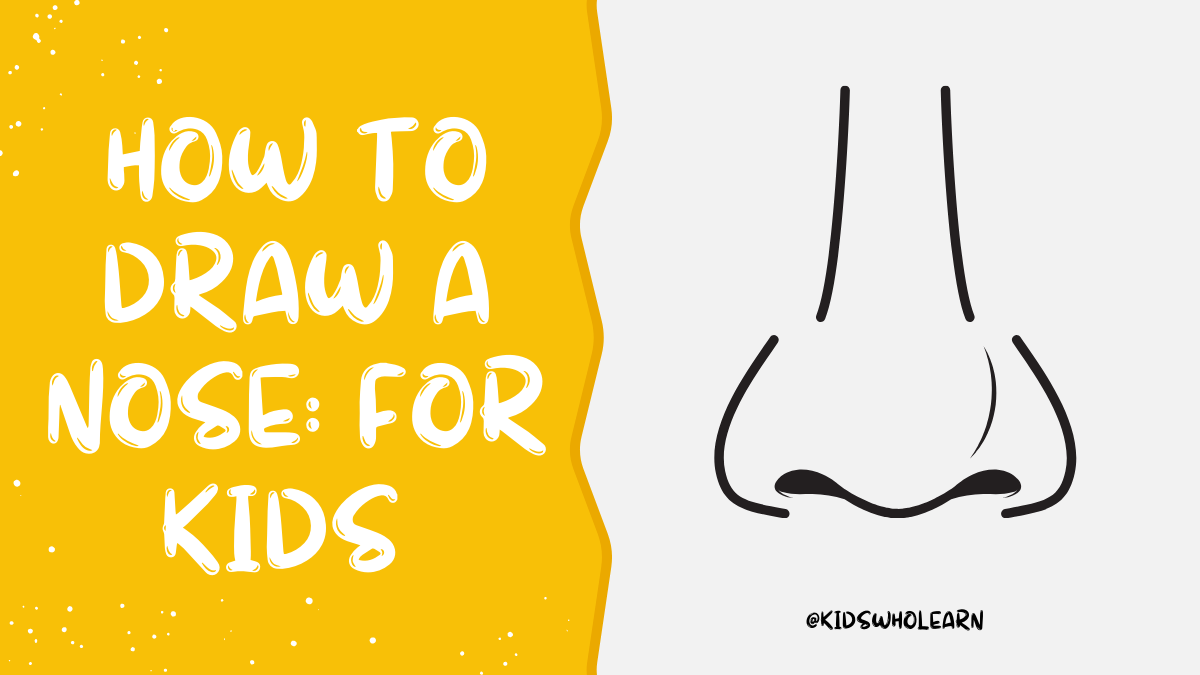
Drawing is a great way for kids to express their creativity and imagination. However, drawing certain features, such as the nose, can be challenging. In this article, you will learn how to draw a nose for kids in a simple and easy-to-follow way.
Understanding the basic shape of a nose is essential before starting to draw. The nose is made up of two nostrils, a bridge, and a tip. The nostrils are usually shaped like an upside-down teardrop, and the bridge and tip can vary in shape and size. Knowing these basic features will help you draw a realistic-looking nose.
Key Takeaways
- Drawing a nose can be challenging, but it can be made easier by understanding the basic shape of a nose.
- The materials needed to draw a nose are simple and easy to obtain.
- By following these steps, you can draw a simple nose and even different types of noses.
Understanding the Basic Shape of a Nose
When it comes to drawing a nose, understanding its basic shape is crucial. The nose is made up of different parts, including the bridge, nostrils, and tip. To draw a nose that looks realistic, you need to be able to identify and sketch the basic shape of each part.
The bridge of the nose is the uppermost part that connects the eyes and forehead. It is usually the thickest part of the nose and can vary in width and height. The bridge can be straight, curved, or even slightly crooked.
The nostrils are the openings at the bottom of the nose that allow air to flow in and out. They are usually oval-shaped and can be wider or narrower depending on the angle of the nose.
The tip of the nose is the most prominent part and can be pointed, rounded, or even upturned. It is usually the smallest part of the nose and can be a defining feature of a person’s face.
To draw a nose, start by sketching the basic shape of the bridge, nostrils, and tip. You can then add details such as the nostril flares, the shading on the bridge, and the subtle curves of the tip. Remember to observe the nose closely and adjust your drawing accordingly.
In summary, understanding the basic shape of a nose is essential for drawing a realistic and accurate nose. By identifying and sketching the bridge, nostrils, and tip, you can create a foundation for your drawing and add details to bring it to life.
Materials Needed
When teaching kids how to draw a nose, it’s important to have the right materials. Here are the materials you’ll need to get started:
Choosing the Right Pencils
Pencils are an essential tool when it comes to drawing. For drawing a nose, you will need a set of pencils with different lead grades. The lead grades you’ll need are:
- 2H: for light sketching
- HB: for general shading
- 2B: for creating darker shading and shadows
Paper Selection
Choosing the right paper is also important for drawing a nose. You’ll need a smooth paper that can handle erasing and shading. A good option is a sketch pad with a weight of 70-80 lb.
Optional Tools
While not necessary, these optional tools can make drawing a nose easier:
- Eraser: a kneaded eraser is best for drawing because it can be shaped to fit the area you need to erase
- Blending tool: use a blending tool, like a blending stump, to smooth out shading and create a more realistic look
- Reference photo: have a reference photo of a nose to use as a guide when drawing
By having the right materials, you’ll be able to teach kids how to draw a nose with ease.
Steps to Draw a Simple Nose
Drawing the Outline
To draw a simple nose, start by sketching a small, upside-down triangle at the center of your paper. This triangle will be the base of your nose. Next, draw two curved lines on either side of the triangle to create the nostrils. Make sure the nostrils are symmetrical and the same size. Finally, draw a straight line down the center of the triangle to create the bridge of the nose.
Adding Details
Once you have the basic outline of the nose, it’s time to add some details. Draw two small circles at the base of the nostrils to create the openings. Then, add some shading to the sides of the nose to create depth. You can also add some lines to the bridge of the nose to create the appearance of bone structure.
Shading the Nose
To make your nose drawing look more realistic, you’ll need to add some shading. Start by shading the sides of the nose with a pencil. Use light pressure at first and gradually build up the shading. Then, add some shading to the nostrils and the bridge of the nose. Finally, use an eraser to lighten up some areas and create highlights.
Remember, practice makes perfect when it comes to drawing. Keep practicing and trying new techniques to improve your skills.
Drawing Different Types of Noses
When it comes to drawing noses, there are many different types to choose from. Here are a few examples of different nose types and how to draw them.
Drawing a Straight Nose
A straight nose is a common nose type that is easy to draw. To draw a straight nose, follow these steps:
- Draw a straight line down the center of the face.
- Draw two smaller lines on either side of the center line, starting at the top of the line and curving outwards.
- Connect the two smaller lines at the bottom with a curved line.
Drawing a Button Nose
A button nose is a small, round nose that is often seen on children. To draw a button nose, follow these steps:
- Draw a small circle in the center of the face.
- Draw two curved lines on either side of the circle, starting at the top and curving outwards.
- Connect the two lines at the bottom with a curved line.
Drawing a Large Nose
A large nose can be a little more challenging to draw, but with a few simple steps, you can create a realistic looking nose. To draw a large nose, follow these steps:
- Draw a straight line down the center of the face.
- Draw two curved lines on either side of the center line, starting at the top of the line and curving outwards.
- Connect the two lines at the bottom with a curved line.
- Add shading to the sides of the nose to create depth.
Remember, practice makes perfect. Keep trying and experimenting with different nose types until you find the style that works best for you.
Tips and Techniques
Observing Real Noses
One of the best ways to learn how to draw a nose is to observe real noses. Look at the noses of people around you, paying attention to the shape, size, and placement of the nostrils, the bridge, and the tip. You can also look at pictures of noses in books or online. Take note of the different angles and lighting conditions, as these can affect the appearance of the nose.
Another technique is to use a mirror to observe your own nose. This will give you a better understanding of how the different parts of the nose are connected and how they move when you make facial expressions.
Practicing Regularly
Drawing a nose can be challenging, but with regular practice, you can improve your skills. Start by drawing simple shapes, such as circles and triangles, to represent the different parts of the nose. Then, gradually add more detail, such as shading and texture, to make the nose look more realistic.
Try different techniques, such as cross-hatching, stippling, and blending, to create different effects. Experiment with different drawing tools, such as pencils, charcoal, and markers, to find the ones that work best for you.
Remember to be patient and persistent. Drawing a nose takes time and practice, but with dedication and hard work, you can master this important skill.
Conclusion
In conclusion, drawing a nose is an important skill for any aspiring artist. By following the tips and techniques outlined in this article, you can learn how to draw a nose for kids that looks realistic and expressive.
Remember to start with the basic shapes and lines, and then gradually add more detail as you go along. Pay attention to the proportions and placement of the different parts of the nose, such as the nostrils, bridge, and tip.
Practice regularly and experiment with different styles and techniques to find what works best for you. Don’t be afraid to make mistakes – they are a natural part of the learning process.
With time and patience, you can master the art of drawing a nose and use your skills to create beautiful works of art that capture the essence of your subject. Good luck and happy drawing!
Frequently Asked Questions
How can I draw a nose from a side angle?
Drawing a nose from a side angle can be tricky, but with some practice, you can master it. Start by drawing the basic shape of the nose, then add the nostrils and the bridge. Pay attention to the angle of the nose and make sure it looks natural. Don’t forget to add shading to give it depth and dimension.
What are some tips for drawing ears for kids?
When drawing ears, start by drawing the basic shape of the ear. Pay attention to the placement of the ear on the head, and make sure it looks proportional to the rest of the face. Add details like the earlobe and the inner ear, and don’t forget to add shading to give it depth and dimension.
How do I draw skin realistically for kids?
When drawing skin, pay attention to the texture and tone of the skin. Use light strokes to create a smooth, even texture, and add shading to create depth and dimension. Use a variety of colors to create a realistic skin tone.
What are some techniques for drawing a nose without shading?
When drawing a nose without shading, focus on the shape and outline of the nose. Start by drawing the basic shape of the nose, then add the nostrils and the bridge. Pay attention to the angle of the nose and make sure it looks natural. Use light strokes to create a smooth, even texture.
How can I draw a mouth that looks natural for kids?
When drawing a mouth, start by drawing the basic shape of the lips. Pay attention to the shape and placement of the lips, and make sure they look proportional to the rest of the face. Add details like the corners of the mouth and the teeth, and don’t forget to add shading to create depth and dimension.
What are some easy ways to draw a tongue for kids?
When drawing a tongue, start by drawing the basic shape of the tongue. Pay attention to the placement of the tongue in the mouth, and make sure it looks natural. Add details like the taste buds and the texture of the tongue, and don’t forget to add shading to create depth and dimension.