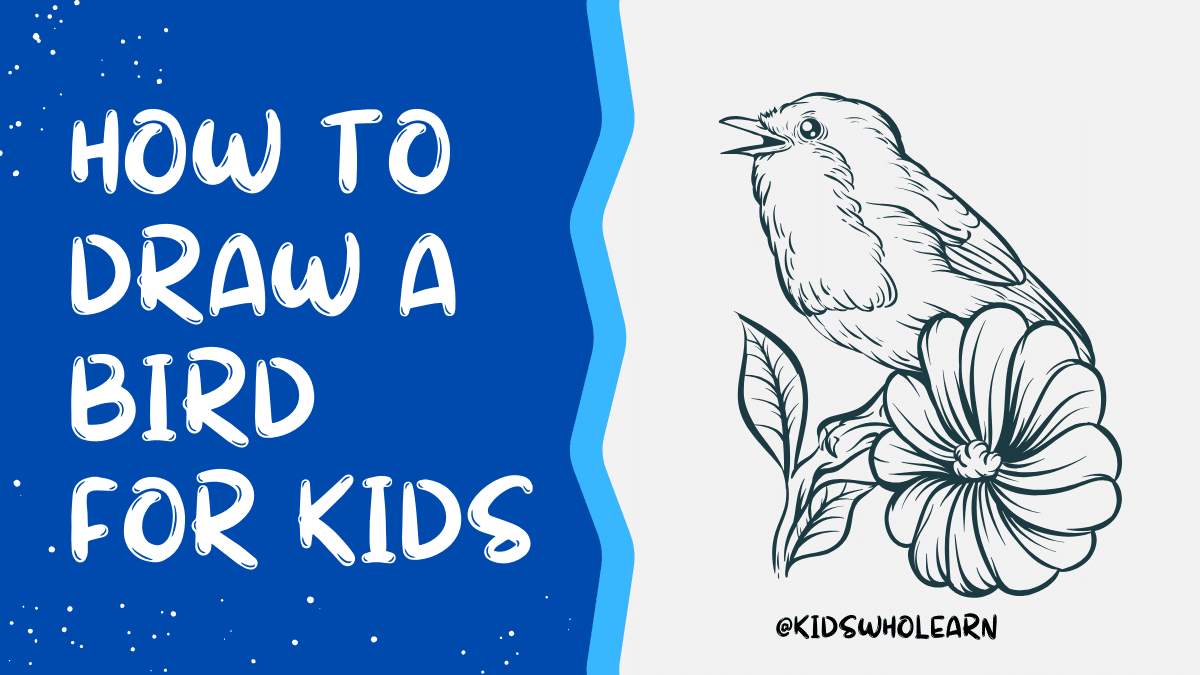
Drawing is a fun and creative activity that kids of all ages can enjoy. If your child loves birds, they may want to learn how to draw their favorite feathered friends. Drawing a bird can seem daunting at first, but with the right techniques and materials, it can be a simple and enjoyable process.
To start, you will need some basic materials such as paper, pencils, erasers, and colored pencils or markers. You can choose any bird you like, but it’s best to start with a simple bird like a sparrow or robin. Once you have your materials ready, it’s time to choose the right bird and learn the basic shapes for bird drawing.
Key Takeaways
- Drawing a bird can be a fun and easy activity for kids of all ages.
- To get started, you will need basic materials and choose a simple bird to draw.
- Learning the basic shapes for bird drawing is an important step in creating a realistic and accurate bird drawing.
Materials Needed
To draw a bird, you will need a few essential materials. Here is a list of everything you will need to get started:
- Pencils: You will need a few different pencils, including a hard pencil (H), a medium pencil (HB), and a soft pencil (B). This variety of pencils will help you create different shades and textures in your drawing.
- Eraser: You will need an eraser to correct any mistakes you make while drawing. Make sure to use a soft eraser that won’t damage your paper.
- Paper: Choose a high-quality paper that is thick enough to handle your drawing. You can use any type of paper, but it’s best to use a paper that has a smooth surface.
- Reference Image: You will need a reference image of the bird you want to draw. You can find images online or in books.
- Coloring Materials: If you want to color your drawing, you will need colored pencils or markers. Choose colors that match the bird you are drawing.
Make sure to have all of these materials on hand before you start drawing. Having everything you need will make the drawing process smoother and more enjoyable.
Choosing the Right Bird
When it comes to drawing a bird, it’s important to choose the right bird to draw. There are many different types of birds, each with their own unique characteristics and features. Here are some things to consider when choosing the right bird to draw:
Size and Shape
Consider the size and shape of the bird. Larger birds may be more difficult to draw, while smaller birds may be easier to manage. Pay attention to the bird’s proportions and try to capture them accurately in your drawing.
Color and Pattern
Birds come in a wide variety of colors and patterns. Some birds are very colorful, while others are more muted. Look for birds with interesting patterns or unique color combinations to make your drawing stand out.
Familiarity
Choose a bird that you are familiar with. If you have a bird feeder in your backyard, consider drawing one of the birds that you see there. If you have a favorite bird that you like to watch, try drawing that bird.
Reference Material
Make sure you have reference material to work from. This could be a photograph, a drawing, or a real-life bird. Having a reference will help you capture the bird’s features accurately and make your drawing more realistic.
Practice
Remember, practice makes perfect! Don’t be discouraged if your first attempt at drawing a bird doesn’t turn out the way you want it to. Keep practicing and experimenting with different birds until you find one that you feel comfortable drawing.
Basic Shapes for Bird Drawing
When it comes to drawing a bird, it’s important to start with basic shapes. These shapes will serve as the foundation for your drawing and make it easier to create a realistic-looking bird. Here are three basic shapes that you can use:
Circle for Body
The first shape you’ll need is a circle for the body. This will be the main shape of your bird and will determine the size and proportions of your drawing. Make sure to draw a circle that’s proportional to the size of the bird you want to draw.
Triangle for Beak
The beak is an important feature of any bird, so it’s important to get it right. To draw a beak, start with a triangle shape. The base of the triangle should be attached to the circle you drew for the body. The point of the triangle will be the tip of the beak. Make sure to draw the beak in proportion to the size of the bird.
Oval for Head
The final shape you’ll need is an oval for the head. This shape will be attached to the circle you drew for the body. The size of the oval will depend on the size of the bird, but it should be smaller than the circle for the body. Make sure to draw the oval in proportion to the size of the bird.
By using these basic shapes, you’ll be able to create a foundation for your bird drawing that’s both accurate and proportional. Once you have these shapes in place, you can start adding details to your drawing, such as feathers, eyes, and wings.
Drawing the Bird
Drawing a bird can be a fun and rewarding activity for kids. With a few simple steps, you can create a beautiful bird drawing. In this section, we will guide you through the process of drawing a bird step by step.
Sketching the Body
To begin, start by sketching the body of the bird. Draw a small oval shape for the body, and then add a larger oval shape for the head. Connect these two shapes with a curved line to form the neck.
Adding the Head
Next, it’s time to add the head of the bird. Draw a small circle for the eye, and then add a curved line for the beak. Make sure the beak is pointed and slightly curved downward.
Drawing the Beak
Now, let’s focus on the beak of the bird. Draw a small triangle shape at the end of the beak to form the tip. Then, add a small line in the middle of the beak to create the mouth.
Adding the Wings
Finally, it’s time to add the wings. Draw two curved lines on either side of the body to form the wings. Make sure the wings are symmetrical and evenly spaced.
By following these simple steps, you can create a beautiful bird drawing that is sure to impress. Remember to take your time and have fun with it!
Adding Details
Once you have drawn the basic outline of your bird, it’s time to add some details to make it look more realistic. Here are some tips for adding details to your bird drawing:
Drawing the Eyes
The eyes are an important part of any bird drawing. They give the bird character and make it look more alive. Here’s how to draw the eyes:
- Start by drawing two small circles for the eyes.
- Add a smaller circle inside each eye for the pupil.
- Shade in the pupil, leaving a small white dot for reflection.
- Draw a curved line above each eye for the eyebrow.
Adding Feathers
Feathers are what make birds unique and beautiful. Here’s how to add feathers to your bird drawing:
- Start by drawing small lines for the feathers on the body.
- Use longer lines for the tail feathers.
- Add more lines to create the texture of the feathers.
- Use shading to create depth and dimension.
Drawing the Legs
The legs are an important part of the bird’s anatomy and can add a lot of character to your drawing. Here’s how to draw the legs:
- Start by drawing two thin lines for the legs.
- Add a small triangle for the foot.
- Draw three small lines for the toes.
- Use shading to create dimension and texture.
Remember, practice makes perfect. Don’t be afraid to make mistakes and keep trying until you get it right. With these tips, you’ll be drawing beautiful birds in no time!
Coloring the Bird
Once you have finished drawing the bird, it’s time to add some color to it. This is the fun part where you get to make your bird look as colorful as you want. Here are some tips on how to color your bird:
Choosing Colors
Before you start coloring your bird, it’s important to choose the right colors. You can use any colors you want, but it’s a good idea to use colors that are found in real birds. Look at pictures of birds to get an idea of what colors to use. You can also use your imagination and create your own unique color scheme.
Coloring the Body
Start by coloring the body of your bird. Use light strokes and color in the direction of the feathers. You can use different shades of the same color to create depth and texture. For example, you can use a light blue for the belly and a darker blue for the back. You can also use different colors for different parts of the body, such as red for the head and yellow for the wings.
Coloring the Beak
The beak is an important part of the bird, so make sure to color it carefully. Use a bright color such as orange, yellow, or red for the beak. You can also use a lighter shade of the body color for the beak. Color the top and bottom of the beak separately to create a three-dimensional effect.
Remember, there is no right or wrong way to color your bird. Use your creativity and have fun!
Final Touches
Now that you have completed drawing the bird, it’s time to add some final touches to make it look more realistic and beautiful. Here are some tips to help you:
Add Color
Adding color to your bird drawing is a great way to make it look more lively and attractive. You can use colored pencils, markers, or watercolors to add color to your bird. Look at pictures of the bird you are drawing to get an idea of the colors you need to use.
Add Details
Adding details to your bird drawing can make it look more realistic and interesting. You can add details such as feathers, eyes, beak, and claws. Use a reference picture to get an idea of the details you need to add.
Shade
Shading your bird drawing can give it a three-dimensional look and make it look more realistic. Use a pencil to add shading to your bird drawing. Shade the areas where the light doesn’t hit the bird, and leave the areas where the light hits the bird white.
Add Background
Adding a background to your bird drawing can make it look more interesting and complete. You can draw a tree, a branch, or a nest for your bird. Use your imagination to come up with a background that complements your bird drawing.
Remember, practice makes perfect. Don’t worry if your first bird drawing doesn’t turn out the way you want it to. Keep practicing, and you will get better with time.
Conclusion
Congratulations! You have successfully learned how to draw a bird. Drawing is a great way to express your creativity and imagination. With the techniques and tips provided in this article, you can draw a bird that is unique and beautiful.
Remember, practice makes perfect. The more you draw, the better you will become. Don’t be too hard on yourself if your first few attempts don’t turn out the way you want them to. Keep practicing and you will improve.
Here are some key takeaways from this article:
- Start with basic shapes and build up the details
- Use reference images to help you with proportions and details
- Experiment with different colors and shading techniques
- Don’t be afraid to make mistakes, they are part of the learning process
- Have fun and enjoy the process of creating something new
We hope you found this article helpful and that you are now confident in your ability to draw a bird. Keep practicing and exploring new techniques, and who knows, maybe one day you’ll become a professional artist!
Frequently Asked Questions
How to draw a bird flying step by step
To draw a bird flying, start by drawing a small circle for the head and a larger circle for the body. Add a triangle for the beak and two circles for the eyes. Draw the wings and tail feathers, and then add details like feathers and shading to bring your drawing to life.
How to draw a cute bird with simple shapes
To draw a cute bird with simple shapes, start by drawing a small circle for the head and a larger circle for the body. Draw two small circles for the eyes and a triangle for the beak. Add wings and tail feathers, and then add details like feathers and shading to make your bird look cute.
Easy bird drawing tutorial for kids
To draw an easy bird, start by drawing a small circle for the head and a larger circle for the body. Draw two small circles for the eyes and a triangle for the beak. Add wings and tail feathers, and then add details like feathers and shading to make your bird look more realistic.
How to draw a realistic bird in pencil
To draw a realistic bird in pencil, start by drawing a small circle for the head and a larger circle for the body. Draw two small circles for the eyes and a triangle for the beak. Add wings and tail feathers, and then add details like feathers and shading to make your bird look as realistic as possible.
Simple steps to draw a parrot for kids
To draw a parrot for kids, start by drawing a small circle for the head and a larger circle for the body. Draw two small circles for the eyes and a triangle for the beak. Add wings and tail feathers, and then add details like feathers and shading to make your parrot look colorful and fun.
How to draw a sitting bird with details
To draw a sitting bird with details, start by drawing a small circle for the head and a larger circle for the body. Draw two small circles for the eyes and a triangle for the beak. Add wings and tail feathers, and then add details like feathers and shading to make your bird look like it’s sitting on a branch.